
Please check back often to see additions to these pages. Feel free to contact us with any suggestions or questions you have,
we will do our best to include the information.

Learning a New Instrument: Some Basics
Deciding to learn a new instrument is a lot but here is some help to get you started. Whether you’re an adult starting cello or a 3rd grader picking up violin, here’s some helpful instrument information.What size?
The size of the instrument matters a whole lot! For children, sizes can be quite the struggle but some measurements can show you the correct size. Sometimes playing on the wrong size instrument can cause physical pain and may discourage young players from pursuing music. Adult players more often play a ‘full size’ or ‘4/4’ instrument. This can be referenced in the Choosing the Right Instrument Size article more in depth.Where to get the instrument?
For beginner players it’s more common to rent the instrument rather than outright purchasing it. This is for several reasons:- You might not like it
- Totally okay! Don’t waste your money on a hobby that makes you or your child miserable.
- You might grow out of it
- Many rentals offer deals/trade-ins when sizing up allowing you to spend less money on a smaller instrument. Saving that money for a better quality instrument that will serve their needs more effectively tends to work out better in the long run.
- The resale market for smaller, beginner instruments is not as stable as full size, higher quality instruments
J. Rieck Music offers a rent-to-own program where the money you put towards renting your instrument also starts paying it off. We also offer a variation of prices depending on condition and full repairs for the rented instrument. Any structural repairs will be covered by the cost of the rental so broken strings, bridges, or pegs are covered.
What do I need?
Most instruments on the beginner level will come with the essential basics. But just in case they aren’t included here’s a list.The instrument, of course
Rosin
Bow
Case
Polishing cloth
Book
Shoulder rest / sponge
Rock stop
The needs should come with your instrument if you are renting but might not if you are purchasing. When you are purchasing an instrument with all of the needs then it is called an ‘outfit’.
How Do I Learn This Instrument?
There are several ways to go about learning a new instrument. Children may be able to receive classes through their school program but not every school has a program to offer. In the case that the school does not teach orchestra, there are private lessons that most communities offer. Lesson teachers are also a good way to get a leg up and offer an additional challenge.Let’s say you are an adult that is looking to pick the instrument back up or start learning, what now? The two options are really to teach yourself through youtube or even some apps OR to get lessons in person or online. The latter definitely holds some advantage if you are looking for a classical style but other styles are easier to find online most of the time.
Back to top of page
Choosing the Right Instrument Size
Choosing the right size instrument doesn’t have to be difficult. Depending on the instrument, you can use one of two factors to pick the right size; length of arm or height.
How to Measure:
When measuring for cello or bass, you use height. If the height falls between sizes, size down or try some sizes and see what’s most comfortable. Proportions are key in finding the right cello size; height alone may not be the perfect factor. Using height may not work out immediately but it is a step in the right direction. You can correlate height to the sizing chart below.

Instrument Sizes:
The standard sizes for violin are 1/16, 1/10, 1/8, 1/4, 1/2, 3/4, and 4/4 (or full size). After full size, violins don’t normally get bigger. Adult violinists play on 4/4 instruments
Unlike violin, viola sizes are measured in inches. Their standard sizes are 12”, 13”, 14”, 15”, 15 ½”, and 16” and can be larger but are most likely custom made then. Adult violists normally play around a 16” size but this all varies on arm and finger length.
Cello sizing is more similar to violin; it’s measured in fractions rather than inches. Cellos are 1/4, 1/2, 3/4, and 4/4 (full size). They also can come in other fractions like 7/8, but they are far less common.
For bass, there are 1/4, 1/2, 3/4, and 4/4 but it is much more different than violin sizing. While the 4/4 bass does exist it’s more uncommon for a bassist to ‘size up' into a 4/4 bass. More often, the sound of the instrument does not justify the long reaches that come with a 4/4 bass. This makes the 3/4 more common for players in the ‘full size’ range.
For instrument sizes, most adults play the ‘full size' option’ but measuring can help find the most suitable instrument.
Feel free to stop by the store and get measured or even to look at size-up instruments - no appointment required.
Back to top of page
Violin
|
Size |
Measurement in inches |
Typical age |
|
1/16 |
14”-15” |
3-5 yrs |
|
1/10 |
15”-16” |
3-5 yrs |
|
1/8 |
16”-18” |
3-5 yrs |
|
1/4 |
18”-20” |
4-7 yrs |
|
1/2 |
20”-22” |
6-10 yrs |
|
3/4 |
22”-23” |
9-11 yrs |
|
4/4 |
23” and up |
12+ yrs |
Viola
|
Size |
Measurement in inches |
Typical age |
|
1/8 |
14”-15” |
3-5 yrs |
|
1/4 |
15”-18” |
5-7 yrs |
|
12” |
18”-20” |
7-9 yrs |
|
13” |
20”-22” |
8-10 yrs |
|
14” |
22”-23” |
9-12 yrs |
|
15” |
23”-25” |
11-13 yrs |
|
15.5” |
26”-27” |
12-14 yrs |
|
16” |
27”-28” |
14+ yrs |
|
16.5” |
28” and up |
14+ yrs |
Cello
|
Size |
Height |
Typical age |
|
1/10 |
3’ |
3-4 yrs |
|
1/8 |
3’ - 3’6” |
4-6 yrs |
|
1/4 |
3’6” - 4’ |
5-7 yrs |
|
1/2 |
4’ - 4’6” |
7-11 yrs |
|
3/4 |
4’6” - 5’ |
9-15 yrs |
|
4/4 |
5’ and up |
15+ yrs |
Bass
|
Size |
Height |
Typical age |
|
1/4 |
4’6” - 5’ |
9-12 yrs |
|
1/2 |
4’10” - 5’4” |
11-15 yrs |
|
3/4 |
5’3” and up |
15+ yrs |
How to pick the right instrument for you
There are a lot of variables when picking the right instrument. Skill level, size, tone quality, and price range all need to be considered when choosing the instrument.Beginners
Beginner players will generally use a beginner model instrument. These tend to be factory made and sometimes are made of plywood. Going hand in hand with that, they tend to be less expensive and more affordable for the average family. At this level it may also be beneficial to rent the instrument. This also is an area where size may need to be considered. Reference the Choosing the Right Size article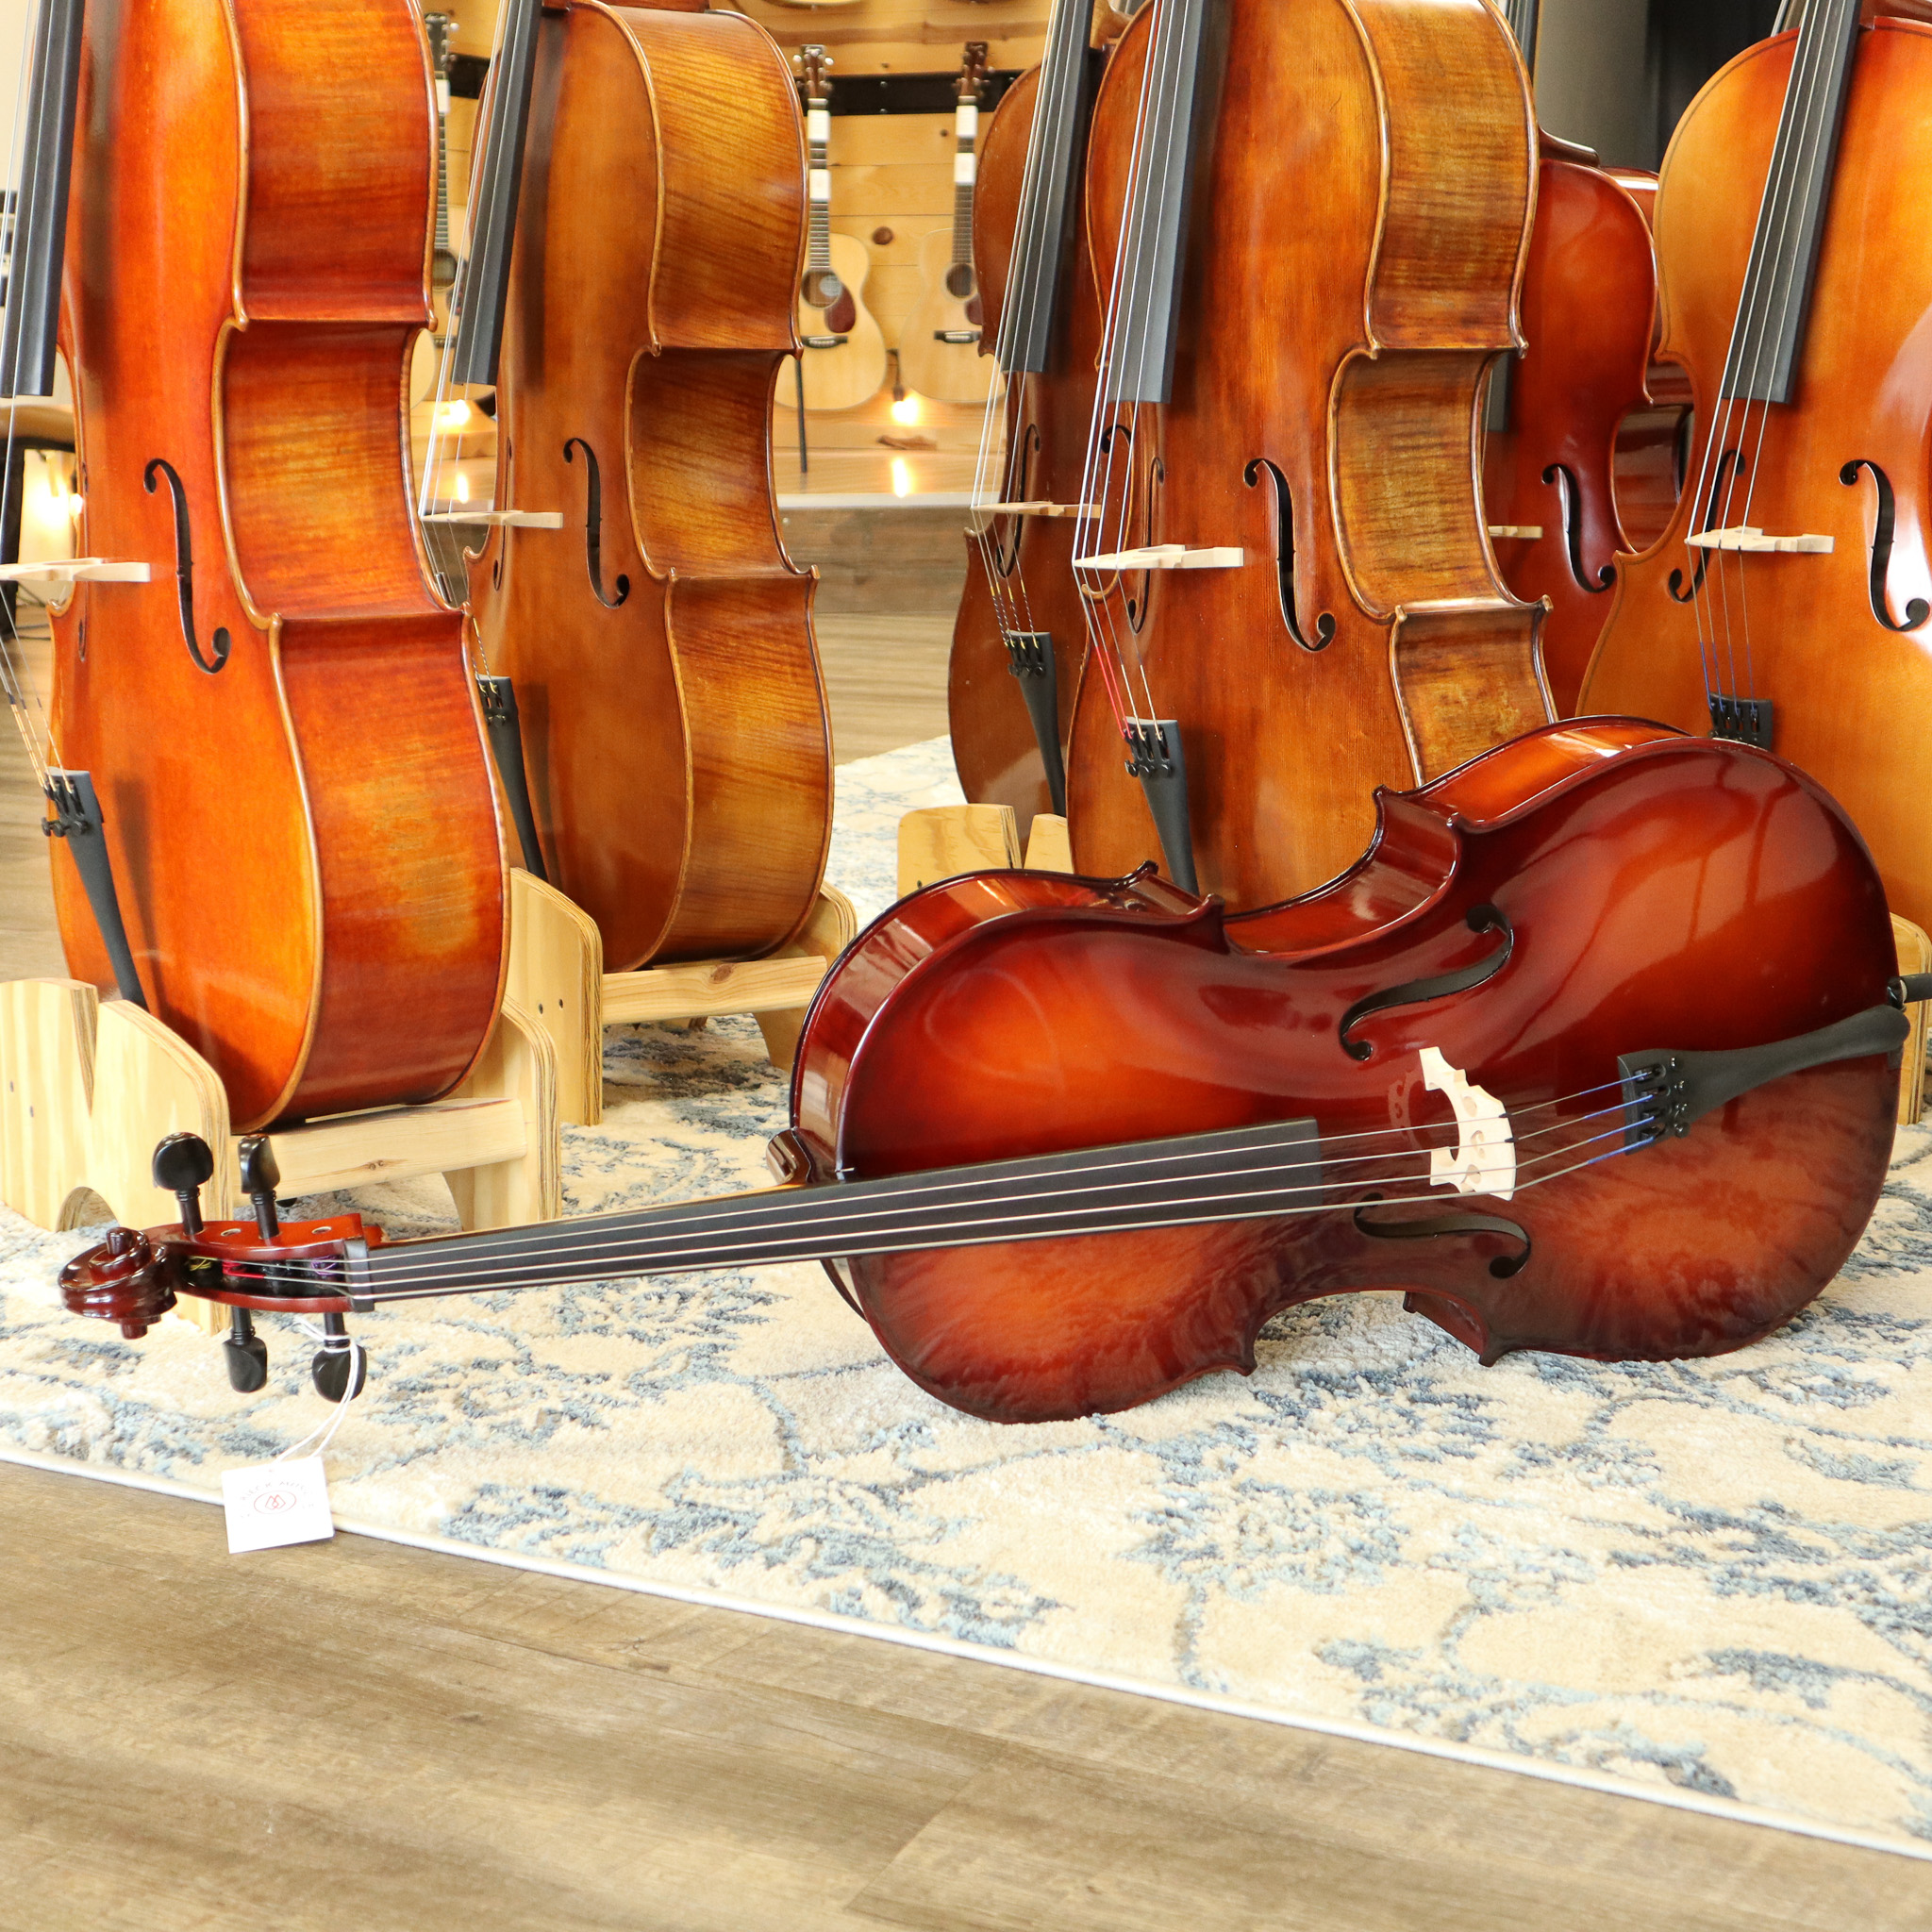
Intermediate
More intermediate players may start looking into the more expensive range. Orchestral instrument pricing is crazy compared to most instruments. Any intermediate instrument you are looking at (around) $500-$5,000 on just the instrument itself excluding the bow. With this sort of price, tone quality comes into play. The sound of the instrument, or tone quality, can be described with words like warm, brilliant, tinny, resonant, and soft. Instruments come in all sorts of sounds and it’s always good to explore your preferences. This is a huge step but a very helpful one for advancing players.
Advanced
Advanced instruments get extra crazy. Pricing is a major factor at this range. Many advanced instruments are $3,000+ depending on the instrument. Tone quality is hopefully something you have explored at this point and you probably won’t even need to read this! Still, everything is about preference at this level. Look around and see what you like.
Back to top of page
Bow Care
Bows are very important when picking an instrument. Picking the right bow and taking good care of it can make worlds of difference when it comes to being concert ready.
Bow quality can be quite difficult to understand and pick. A good rule of thumb is whatever you paid for your instrument, you spend half of that on the bow. This makes it a similar quality to match your instrument.
Bows have some general upkeep rules:
1. Loosen your bow every time you put it in the case
Not loosening your bow every time you put it away can cause the wood/stick to warp and in worse case scenarios for the tip end to break off. Even if you are going to take it out and play soon, loosen your bow to be safe.
Warping or breaking of the stick is (in most cases) unable to be repaired. It's safer to loosen the bow before it goes in the case than to deal with the consequences later.
2. Don’t over/under rosin
Using too much rosin can cause the instrument to sound overly gritty or even too sticky. It’s important to rosin your bow when needed, not every single time you play. You also don’t want to under-rosin your bow. This can cause an odd rasp or lack of sound. If you need to rosin every time you play to get a good sound you might need to refer to #3 on this list.
This one can be hard to stick to as it is kind of a feel thing.
3. Get it rehaired when needed
Rehairing a bow depends on the quality of the bow. Some bows aren’t worth getting rehaired because they are too low quality and it would do better to get a new bow. In this case it is most likely that the cost to rehair the bow would be more (or slightly more) expensive than just buying a new bow of the same quality. When your bow hairs have died, the keratin on the outer layer no longer has the grip to produce sound. This playability issue cannot be solved with more rosin: there is nothing for the rosin to stick to.
Rosin:
Rosin is absolutely necessary for any orchestral string player. From violin to double bass, here are some important things to know about rosin.
Some of the science:
Resin is tapped from trees as sap and then refined into what we know as rosin. Rosin and resin are not the same thing! Additives like beeswax, essential oils, and metals are added into the rosin concoction to create the perfect rosin cake. This all dries into a little container to keep the rosin in.
Bows that are made from horse hair (the majority of bows), have little keratin scales all along them. These little scales create microscopic differences in height all along the hair, creating friction. This alone is not enough friction to produce a sound from the bow, so we add a sticky element: rosin. This gives the bow enough grip to latch onto the string and vibrate a pitch.
The time of season can be very important, especially in places with drastic weather differences. Change in season may be a good time to switch rosins, especially for intermediate to advanced players. During hot and humid months like spring and summer a lighter and harder rosin may work better. During the fall and winter, a darker and stickier rosin will be beneficial.
Depending on your instrument, rosin type matters. Typically violins and violas use a hard, light rosin and occasionally switch to a darker rosin in the winter. On the other hand, cellos use a dark, sticky rosin to get a better grip on the strings all year long. Because of the cello’s size and resonance, it needs a stickier rosin to produce a smooth sound. Basses typically need a specialty rosin, made for bass. When referring to a rosin as light or dark, it doesn’t necessarily mean the color but more of a consistency. A ‘light’ rosin is harder and less sticky while a ‘dark’ rosin is softer with a stickier consistency.
Some rosins are advertised as having metals in them. These can be gold, silver, or copper. They claim to be able to change tone depending on the type of metal, but it might be worth looking into or trying for yourself. These additives can leave a harsh buildup on the instrument if not properly taken care of. All rosins will leave a buildup on the strings and instrument after playing but the ones with harsh additives can create permanent damage for the instrument.
There’s a common misconception that in order to get rosin off the cake, you have to scratch the cake. That really can be a waste of rosin if it is being picked up by the bow hair already. Scratching might be necessary for a cheap rosin, but only for the first use. If you do need to do this, we recommend lightly scuffing the rosin with sandpaper.
Rosin can be a difficult decision with all the choices on the market. Keeping your instrument in mind is key in picking the right one. Spending an extra couple dollars on rosin could make a world of difference in the sound of your instrument.
Remember to loosen your bow! :)


Humidification
Keeping your instrument at a good humidity level is incredibly important. I cannot stress how important it is. The amount of instruments the repair shop sees that need repair simply because the instrument was not humidified is incredible. Humidifying is one major thing you can do to keep your instrument in playing condition.
The best and easiest way to check the humidity in your case is by getting a hygrometer. This will tell you if your instrument is in the safe realm of humidity. If it isn’t safe - you can always adjust. Over humidifying can cause swelling of the wood and under humidifying can cause dryness and cracking. Better safe than sorry.
There are several different ways you can keep your instrument hydrated. One of the most inexpensive ways is to get a small container (box for soap, old film canister, etc.) and drill/cut holes in the top. Get a sponge. Soak the sponge in water then fully squeeze out the excess. Replace into the box and poof! Magic! A humidifier! One really important thing to keep in mind with any humidifying method is that you should never get water on your instrument. Ever. This would be detrimental to your instrument. It can ruin the varnish, permanently damage the sound, and devalue it. Instruments do not like water, do not put water on your instrument.
Another safer and easier way to humidify is to buy a humidifier. This is something pretty common to purchase. At the store we have a couple humidifiers to choose from.
Fill with water, get rid of excess, and place into the f-hole of the instrument.
Relatively safe but runs the risk of water getting on the instrument and only adds humidity.

Fill the tube with water and replace the cap. Incredibly easy to use but can lose effect over time due to minerals in tap water.
Similar to the Dampit.
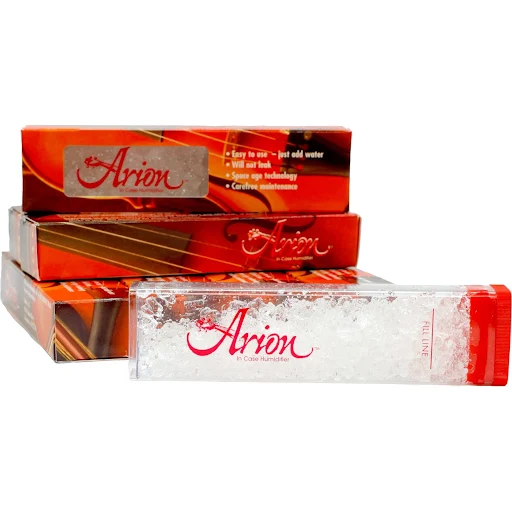
What I personally use. They are really perfect. Just put it in the case and take it out when it gets too crunchy/liquidy. No risk of water getting on to the instrument and simple to use. Can be reused but lose effect over time.

Not humidifying can cause open seams, cracks, overall dryness/swelling of the instrument, and so much more. There’s nothing more horrifying than opening your case to a big crack so remember to humidify!
Shoulder Rest and Chinrest Adjustment
Finding the perfect shoulder rest can be tedious, but hopefully this short guide can help. Chin rests can be a little simpler in contrast but still not exactly the easiest to do.
A lot of times people believe that their shoulder rest is causing some sort of impediment on their instrument. Often it is not the shoulder rest but the player. Making sure your arm is getting around, left hand isn’t pressed against the neck, and balancing with your back, are important in using proper technique. Posture is very important to finding the correct setup for you!
There are many different kinds of shoulder rests because there are many different shapes of people. Some people may be more comfy with a sponge while others may like something more solid like a KUN rest. A good rule of thumb is if you can hold your instrument up without your hand supporting then that shoulder rest can work for you. This only works without overpressing your chin/jaw and being able to stand up straight without dropping it. Please do not drop your instrument trying this.
When looking for shoulder rests try out different styles, heights, and cushions to get the perfect fit. Mixing and matching might be the most comfortable style for you. I’ve seen several different combinations: a bon musica with bubble wrap, several different kinds of sponge in many different positions, and even just a cloth. Trying different options is good. If the shoulder rest is immediately uncomfortable then you might want to move on to something else. If it is hurting after playing for 5 minutes then, again, it won’t work too well for you. In general, if it is uncomfortable, something is wrong.

Chinrests
Chin rests can be much simpler. The kind that fits me the best is a tall and flat rest, but that can also be different for everyone. The general consensus is that the chin rests that come with violins and violas can be uncomfortable. Your jaw shape is important when picking a rest. Like shoulder rests, you might have to try a bunch of different shapes. This is especially important with violas because as they get bigger, the player generally needs to get around farther. One thing that can prevent pain and discomfort with this is an over the tailpiece chinrest. Not for everyone, just for most.
Chin rests and shoulder rests seem like a simple thing at first but they can change the way your instrument feels. Try different kinds out and learn what works best for you.